Running with Local Server
In this section, we will cover how to run the RIF Wallet app with local services or via a shared instance.
To get started, ensure your environment is setup properly, using the setup instructions. See how to run the wallet or how to interact with the smart wallet.
Connect to a shared instance
Websocket
RIF Wallet Services WebSocket allows you to get all updates (balances, transactions, events and prices) of a Smart Wallet. See the websocket docs
See the API docs on Testnet
Running the App with Local Services
The RIF Wallet Services provides a basic account querying API to bootstrap your app. It uses a backend server to connect to the Rootstock indexer and to collect USD prices.
- IOS
yarn ios:local - Android
yarn android:local
You can build your own configuration and run:
ENVFILE=.env.custom react-native run-iosYou do not need to run the server to run the RIF Wallet app.
Development
To run the app, follow these steps:
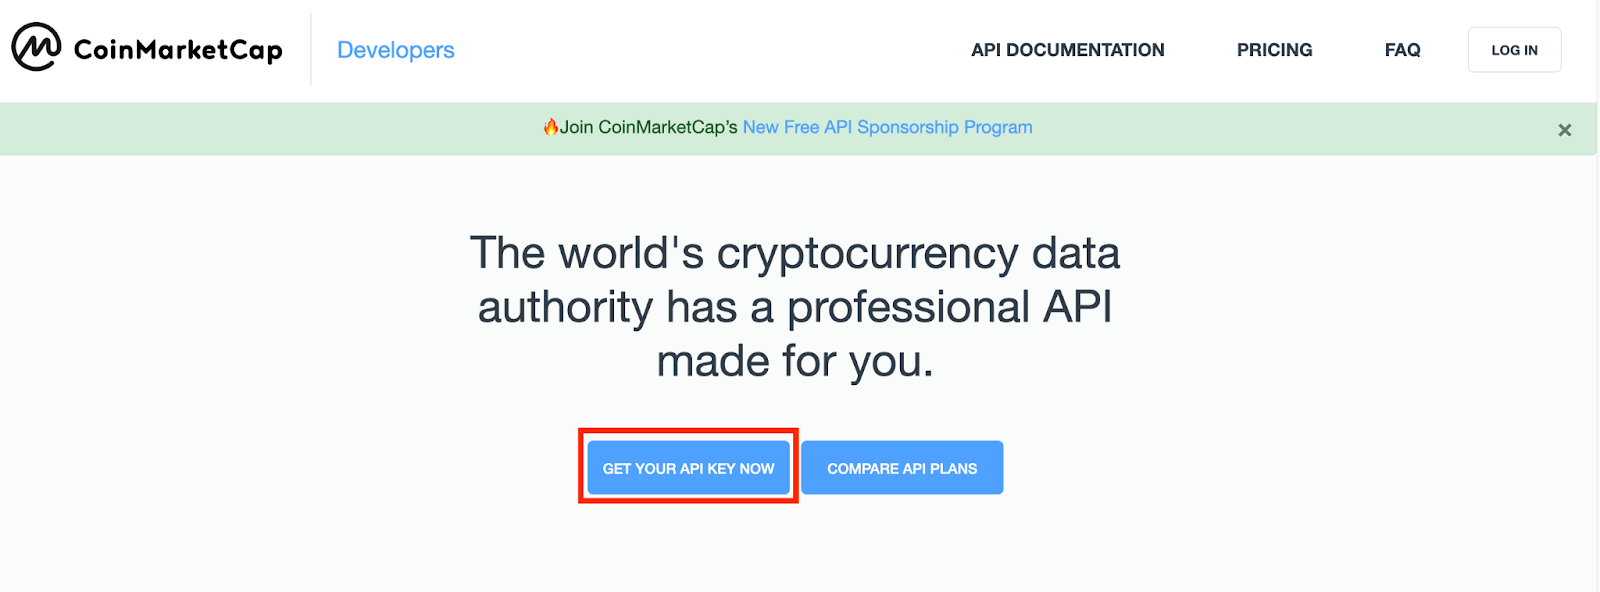
Step 1: Get an API key from CoinMarketCap
Visit CoinMarketCap and click on Get Your API Key Now.
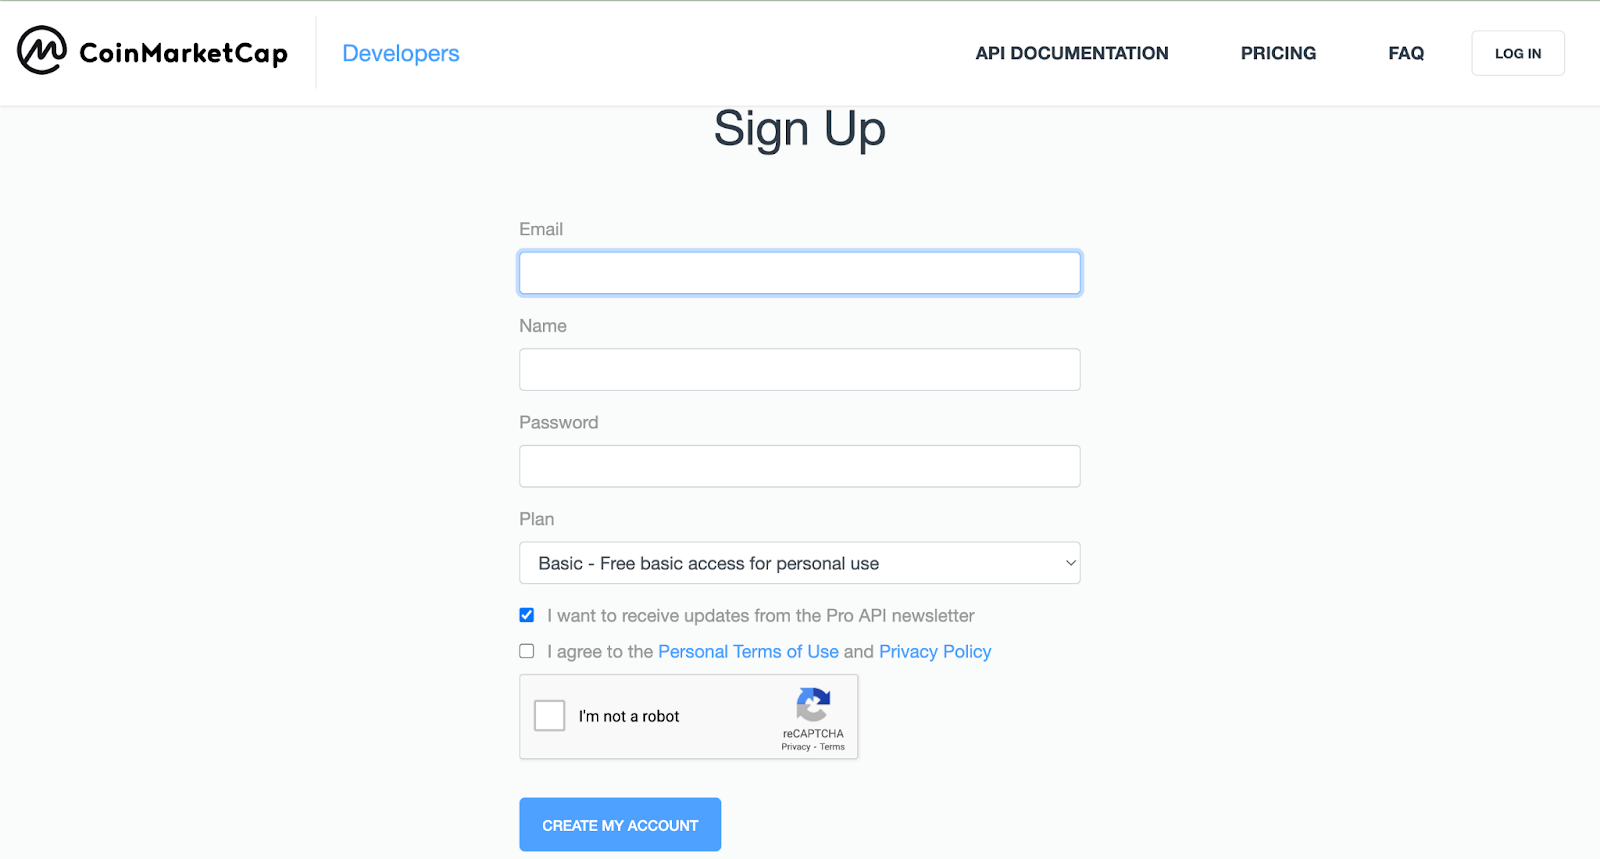
Step 2: Create an account or login
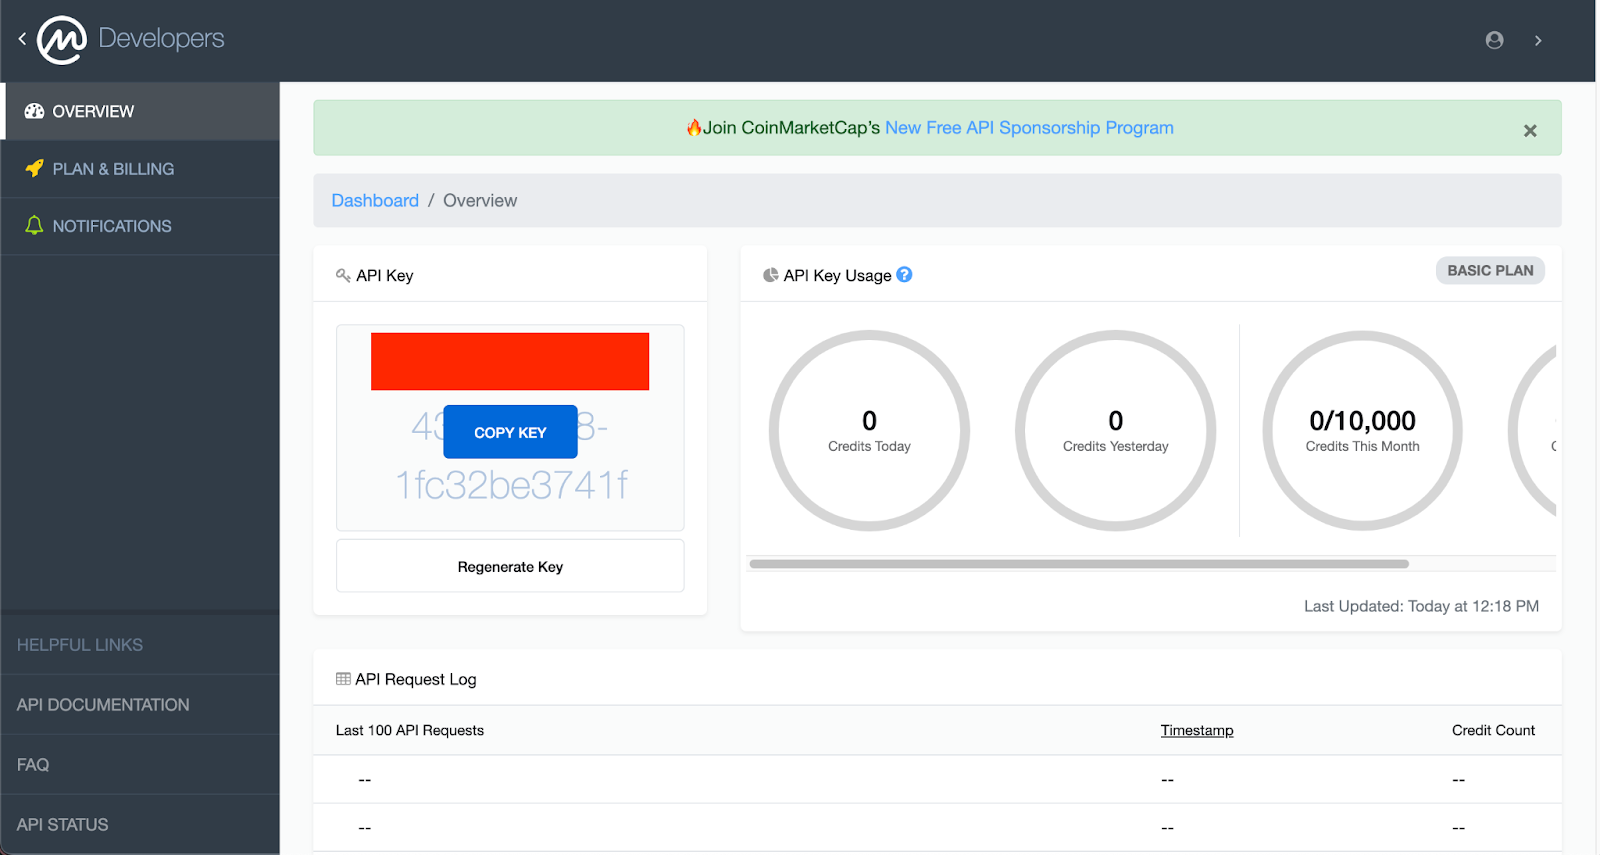
Step 3: Copy the API Key by hovering over API key section on your dashboard
Step 4: Open the RIF Wallet Services repo on your code editor
Locate the .env file in the rif-wallet-services folder opened in your code editor and paste the API key into the .env file.

Step 5: Install dependencies
npm iStep 6: Run tests:
Enter the following commands into the terminal.
npm test

Test Suites: 7 passed, 7 total
Tests:       20 passed, 20 total
Snapshots:   0 total
Time:        20.469 s
Ran all test suites.
OR:
npm run test:watch

No tests found related to files changed since last commit.
Press `a` to run all tests, or run Jest with `--watchAll`.
----------|---------|----------|---------|---------|-------------------
File      | % Stmts | % Branch | % Funcs | % Lines | Uncovered Line #s
----------|---------|----------|---------|---------|-------------------
All files |       0 |        0 |       0 |       0 |
----------|---------|----------|---------|---------|-------------------
Step 7: Lint the code
Ensure tests is running, split the terminal and run the code below;
npm run lint

> rif-wallet-services@1.0.0-beta.3 lint
> npx eslint ./src ./test --ext .json,.js,.ts
OR:
npm run lint:fix

> rif-wallet-services@1.0.0-beta.3 lint:fix
> npx eslint ./src ./test --ext .json,.js,.ts --fix
Step 8: Start the service:
In development:
npm run startIn production:
npm run start:prodRIF Wallet services is now running;
npm run start

> rif-wallet-services@1.0.0-beta.3 start
> nodemon

[nodemon] 2.0.20
[nodemon] to restart at any time, enter `rs`
[nodemon] watching path(s): src/**/*
[nodemon] watching extensions: ts,js
[nodemon] starting `ts-node ./src/index.ts`
RIF Wallet services running on port 3000.
- If you encounter any errors, see section on Troubleshooting